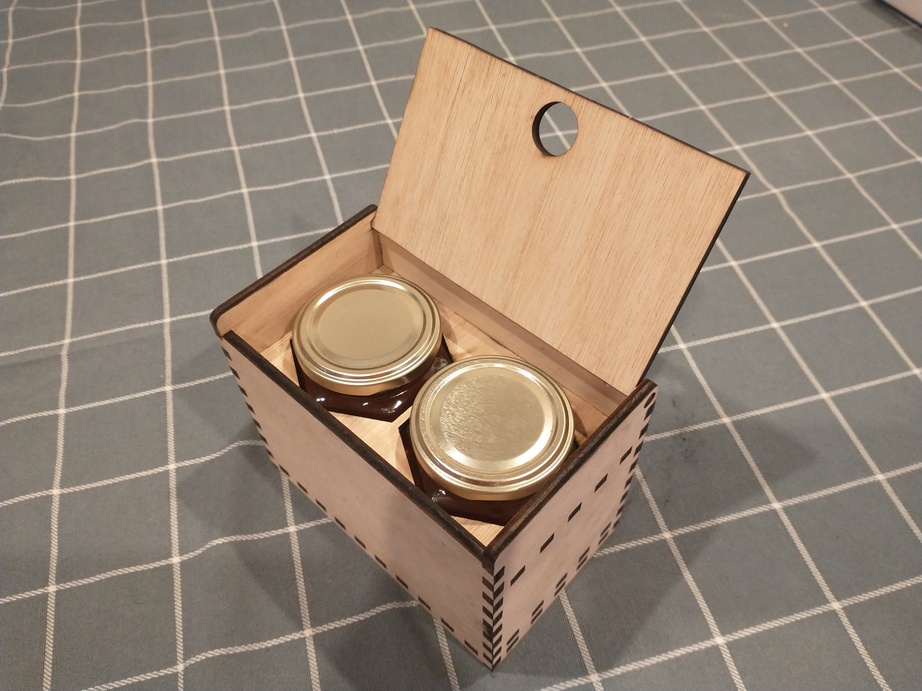
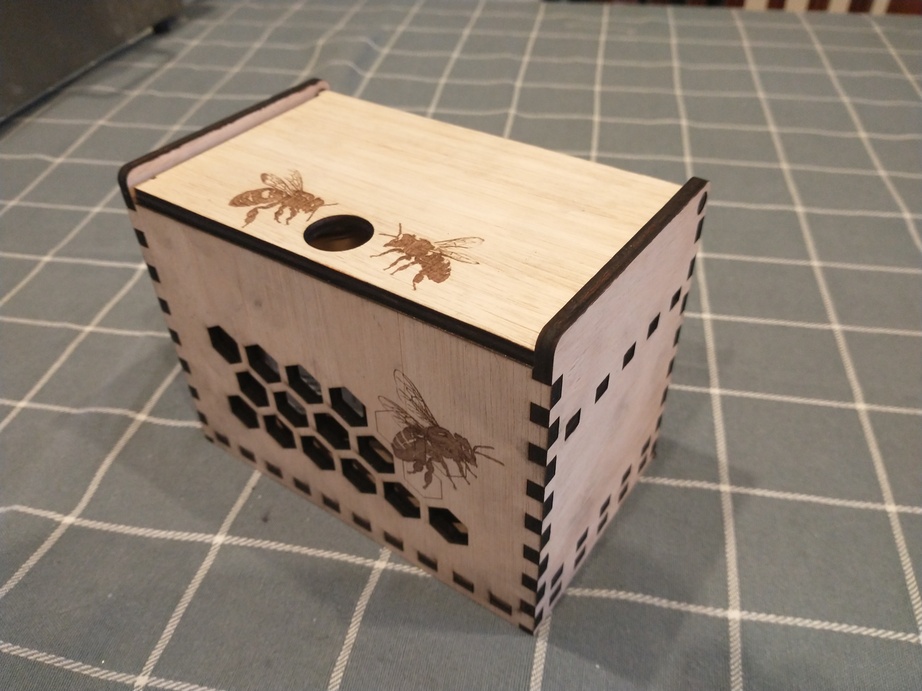
The separators are just held in with the tabs that pass through the sides of the box. It's a mortice and tenon, effectively.
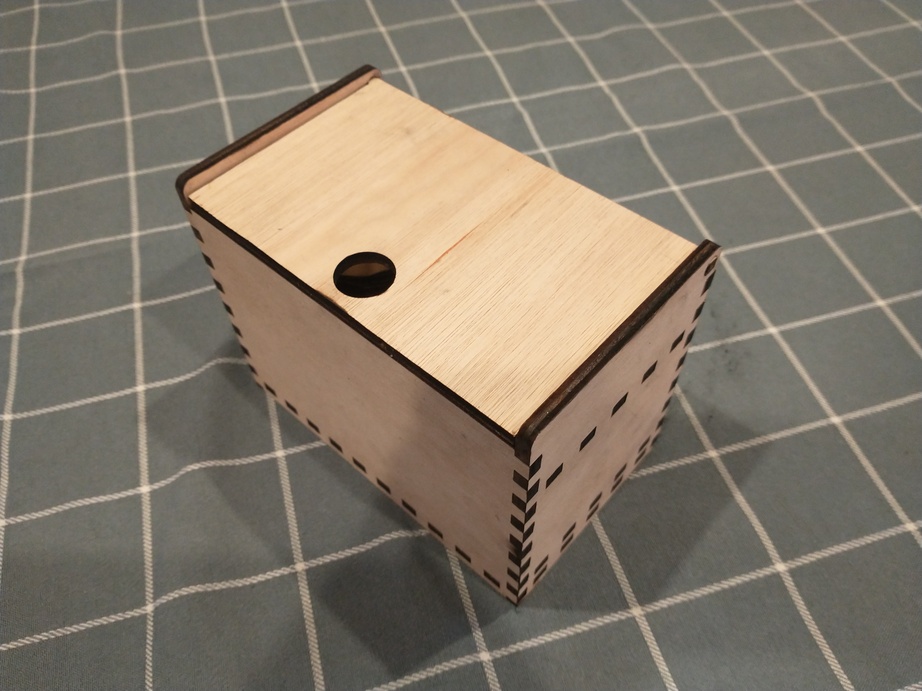
The lid has two small "ears" that pass through circular holes in the sides of the box and are trapped when the box is assembled.
Cutting time I'm not sure about at the moment. I reckon I can get it down to about twenty minutes from sticking a piece of ply into the laser to removing the finished parts. Much of it is down to how the software plans the cuts and I'm not sure I have that working as efficiently as it could at the moment. After that it's a couple of minutes to assemble by hand, just pressing the parts together. I don't have to stand over the machine whilst it's cutting either. I can be doing other stuff after hitting "go". If I make the tenons larger the time will reduce for both cutting and assembly, but at the moment it's all about learning to use the software and getting a design I like. And if I get to the stage where I'm needing to be making these in thousands, it'll be a nice problem to have

Nothing is cut by hand. The laser does everything.
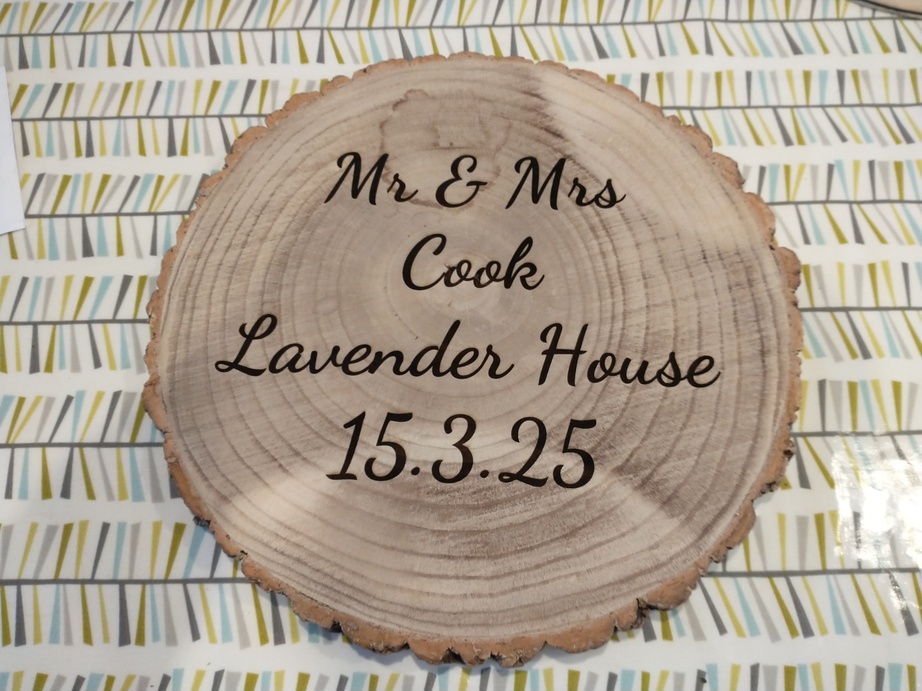
Personalisation really shouldn't be a big deal either. Again it's all done with the laser. It just backs off the power and increases the speed of movement to do the engraving. So for instance, last weekend one of the people I work with asked me to do this for his partner's cousin's wedding:
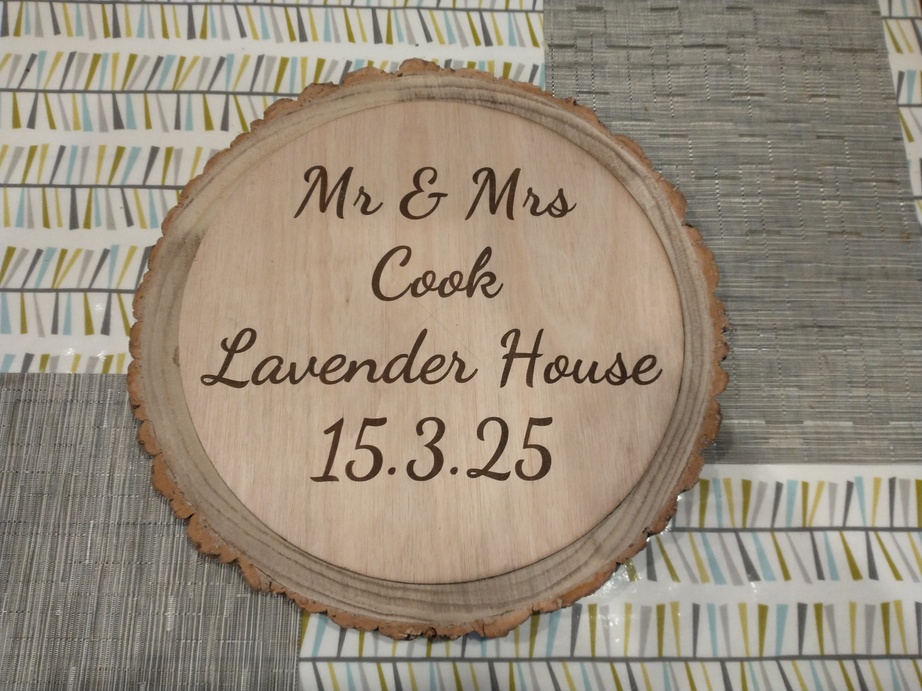
Not sure what species the tree was; they supplied it. The bark looked similar to oak, but the slice of tree (about 400mm diameter by 30mm thick) was very light. By comparison when I did a test run on a piece of ply (engraving followed by a cut around the outside) the engraving wasn't as dark:
James