What did you do in the 'workshop' today

Beekeeping & Apiculture Forum

Help Support Beekeeping & Apiculture Forum:

This site may earn a commission from merchant affiliate links, including eBay, Amazon, and others.
A very nice job .I 've just made 2 like this myself only thing different is i made the bottom edge of the leg the same as the angle so is parallel to the top of the frame ,more support for the legs especially when boxes filled with.honey ,easier to transport in the back of the car too .
John.
Thanks. I considered it but find they work fine without as the angle helps wedge the legs into the ground, none of my hives are on jard standing.

Not sure I follow the transport comment though... Because these fold flat, the car's not an issue- posted a pic in the apiary thread a few days back, had this stand, parts for three hives plus four poly nuc boxes in the Jazz, and some other bits.
 
Free paving slabs and free 20" square pallets work for me as cheap hive stands. Small pallets are used to transport small Chubb floor safes and I can pick them up for nothing from the local locksmiths.
 
Last edited:
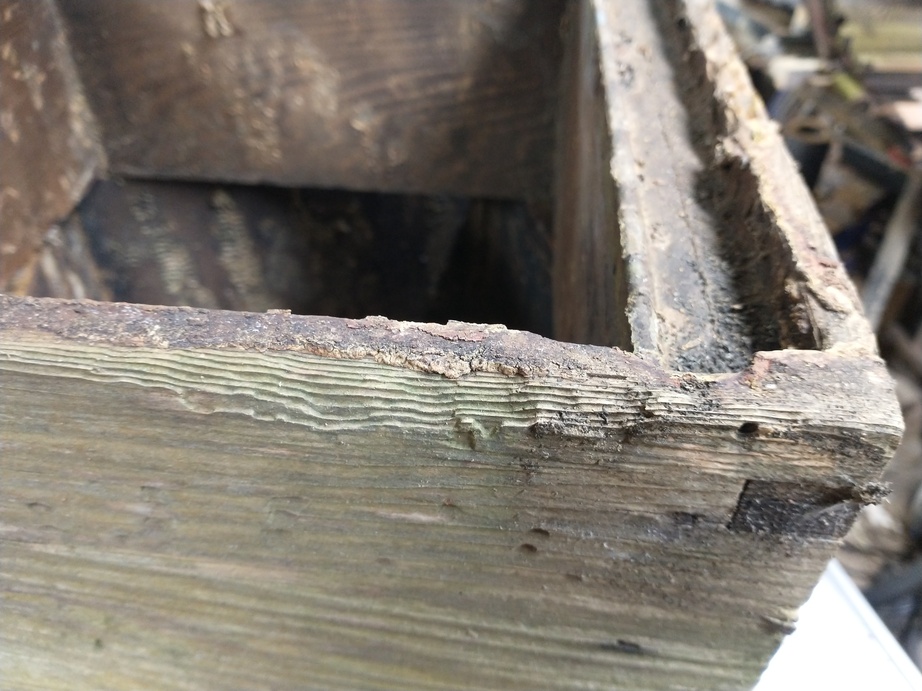
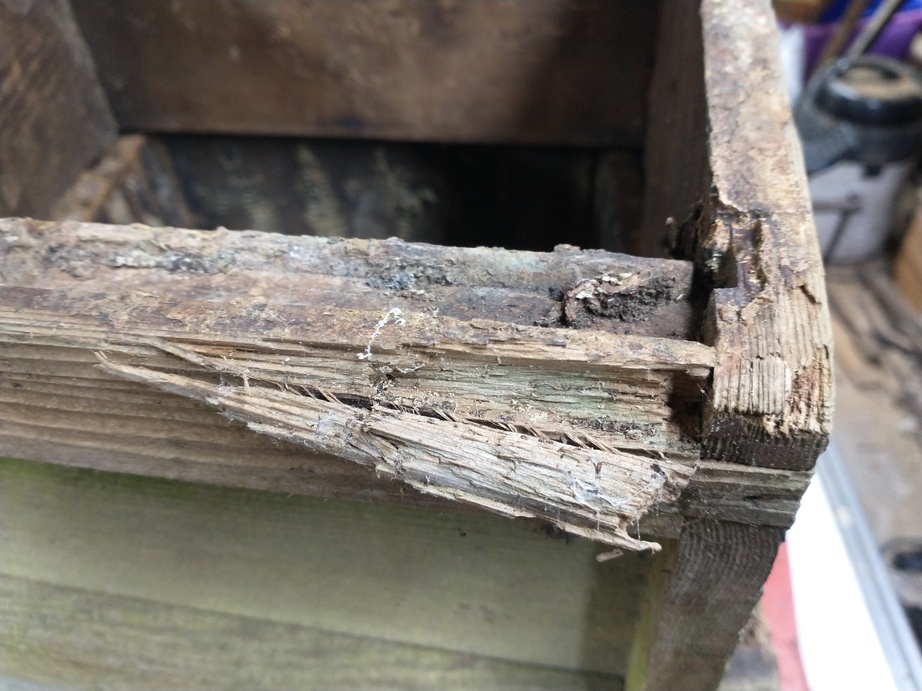
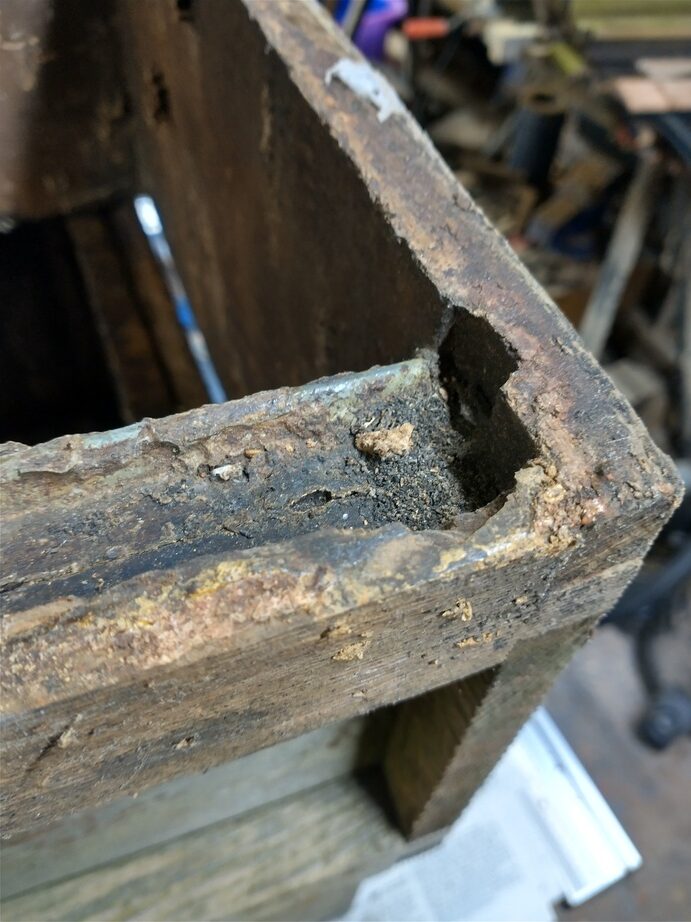
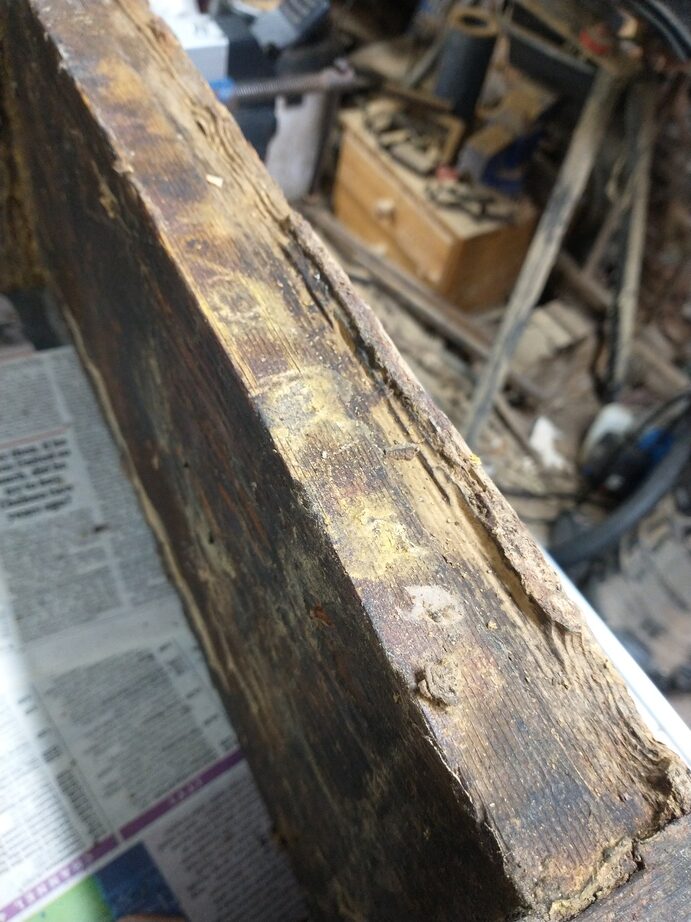
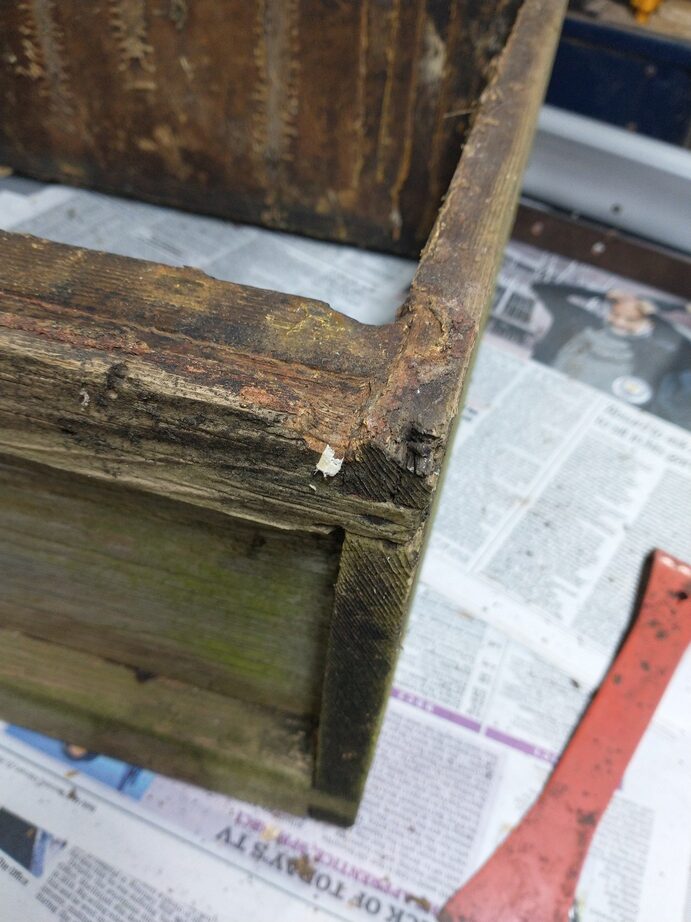
Got down to my last two wooden brood boxes to repair today -- the ones that I had a swarm move into a few years back. I think I'm going to declare them beyond repair though. I'm not sure that even if I broke them both up there'd be enough decent parts left to reassemble into one good one.


brood-box-01.jpg

brood-box-02.jpg

brood-box-03-rotated.jpg

brood-box-04-rotated.jpg

brood-box-05-rotated.jpg


So I only have a poly brood and roof to sort. It's clearly been leaking water in somewhere, but I can't find how at the moment. I suspect water puddles on top and then slowly makes its way through into the hive.

Perhaps just another coat of paint might do the job.

James
 
Yesterday evening I drove 2:45 or so each way up to Manchester to buy a 2nd hand extractor, this evening whilst musing in bed I dashed out the door grabbing my dressing gown on route much to my wife’s disapproval to trial a idea with the extractor.

My thoughts are to buy several plastic chopping boards and cut them in such a way that the sit into and between the cages of the extractor, 1 (maybe 2 ) slots will take the lugs of the frames and provide additional 5 (possibly 10) frames per extraction.

The templates are very rough but they've given my confidence to order a few chopping boards to experiment with this weekend.

On a side note, a hypothetical pint is owed to anyone who can name correctly the make and model of the extractor I’ve bought, no one seems to know for sure.
IMG_6837.jpegIMG_6816.jpeg
 
Got down to my last two wooden brood boxes to repair today -- the ones that I had a swarm move into a few years back. I think I'm going to declare them beyond repair though. I'm not sure that even if I broke them both up there'd be enough decent parts left to reassemble into one good one.


brood-box-01.jpg

brood-box-02.jpg

brood-box-03-rotated.jpg

brood-box-04-rotated.jpg

brood-box-05-rotated.jpg


So I only have a poly brood and roof to sort. It's clearly been leaking water in somewhere, but I can't find how at the moment. I suspect water puddles on top and then slowly makes its way through into the hive.

Perhaps just another coat of paint might do the job.

James
If you can disassemble the deeps you're writing off, couldn't you trim down the side and end boards to turn them into shallows?
 
Got down to my last two wooden brood boxes to repair today -- the ones that I had a swarm move into a few years back. I think I'm going to declare them beyond repair though. I'm not sure that even if I broke them both up there'd be enough decent parts left to reassemble into one good one.


brood-box-01.jpg

brood-box-02.jpg

brood-box-03-rotated.jpg

brood-box-04-rotated.jpg

brood-box-05-rotated.jpg


So I only have a poly brood and roof to sort. It's clearly been leaking water in somewhere, but I can't find how at the moment. I suspect water puddles on top and then slowly makes its way through into the hive.

Perhaps just another coat of paint might do the job.

James
Put them in the next local bee auction - some nutter will pay top dollar for them!
 
Yesterday evening I drove 2:45 or so each way up to Manchester to buy a 2nd hand extractor, this evening whilst musing in bed I dashed out the door grabbing my dressing gown on route much to my wife’s disapproval to trial a idea with the extractor.

My thoughts are to buy several plastic chopping boards and cut them in such a way that the sit into and between the cages of the extractor, 1 (maybe 2 ) slots will take the lugs of the frames and provide additional 5 (possibly 10) frames per extraction.

The templates are very rough but they've given my confidence to order a few chopping boards to experiment with this weekend.

On a side note, a hypothetical pint is owed to anyone who can name correctly the make and model of the extractor I’ve bought, no one seems to know for sure.
View attachment 39501View attachment 39502
Try and have it so the frames are held as close as possible to the outside edge of the extractor to increase the centrifugal force they're exposed to.

Are the cages deep/big enough to put two shallow frames into each?
 
Try and have it so the frames are held as close as possible to the outside edge of the extractor to increase the centrifugal force they're exposed to.

Are the cages deep/big enough to put two shallow frames into each?
Thanks for the tip, I did think that after returning back to bed, I don’t fancy running out again tonight though. I’ll make a template again tomorrow and see if 1 or even 2 frames would fit. I use a mixture of National supers and broods for honey so even if I can’t fit 2 broods I should be able to fit 2 super frames.

I’m going to presume yes, I was able to fit commercial 16x10 frames into the cage to my surprise! There was still room before the spindle too, so 2 National supers may fit.
 

Attachments

  • IMG_6811.jpeg
    IMG_6811.jpeg
    1.7 MB
Yesterday evening I drove 2:45 or so each way up to Manchester to buy a 2nd hand extractor, this evening whilst musing in bed I dashed out the door grabbing my dressing gown on route much to my wife’s disapproval to trial a idea with the extractor.

My thoughts are to buy several plastic chopping boards and cut them in such a way that the sit into and between the cages of the extractor, 1 (maybe 2 ) slots will take the lugs of the frames and provide additional 5 (possibly 10) frames per extraction.

The templates are very rough but they've given my confidence to order a few chopping boards to experiment with this weekend.

On a side note, a hypothetical pint is owed to anyone who can name correctly the make and model of the extractor I’ve bought, no one seems to know for sure.
View attachment 39501View attachment 39502
Is it a Lega? Similar set up and paint colouring to mine
 
I find that the Soudal glue I use gets a bit stiff if I don’t warm it in front of my fan heater on cooler days. At the moment it’s not quite warm enough to keep it runny so I thought I would make a small glue warmer.
IMG_2905.jpeg
I put a 12v 15watt heated silicon pad on a piece of 25mm PIR then placed another sheet with a section cut out of it the same size as the pad.
Next was a sheet of varroa mesh for the bottle to sit on then 2 sheets of 50mm sheet with glue bottle size hole cut out.
Connect up to my 12v supply and “Fanny’s yer aunt!” 😁
 
I've found the same problem with their PU adhesive. I'm quite low-tech though: If I know I'm going to be using it I bring it into the house for a while :D

James
 
Is it a Lega? Similar set up and paint colouring to mine
I thought that initially but Lega have always stamped their name in the side of the drum and the stands extend up the side of the drum above the base ring. Mine is over 35 years old and apart from the electric motor, the thinner materials and a few minor changes it's almost identical to the ones made by Lega today. I think it's either an elderly Thomas extractor or a knock off (early one) of the Lega one at the time. Either way, it looks like a good bit of kit.
 
Not in the workshop but I spent a couple of hours this morning repainting all the vertical surfaces in my honey room with a two pack water based epoxy. Not brilliantly done but I’m sure it will be fine for the EH officer next time he visits.
 

Attachments

  • IMG_2906.jpeg
    IMG_2906.jpeg
    1.1 MB
I've found the same problem with their PU adhesive. I'm quite low-tech though: If I know I'm going to be using it I bring it into the house for a while :D

Or on days like today, I just work outdoors in the funshine. I even got my knees out!

One note of caution however: you know how some people hold a few nails in their mouth whilst they use one hand to hold each nail to get it started? A friend tells me that it's really not a good idea if you're also using foaming PU glue and it gets on your fingers. How I laughed! Sort of.

James
 

Latest posts

Back
Top