What did you do in the 'workshop' today

Beekeeping & Apiculture Forum

Help Support Beekeeping & Apiculture Forum:

This site may earn a commission from merchant affiliate links, including eBay, Amazon, and others.
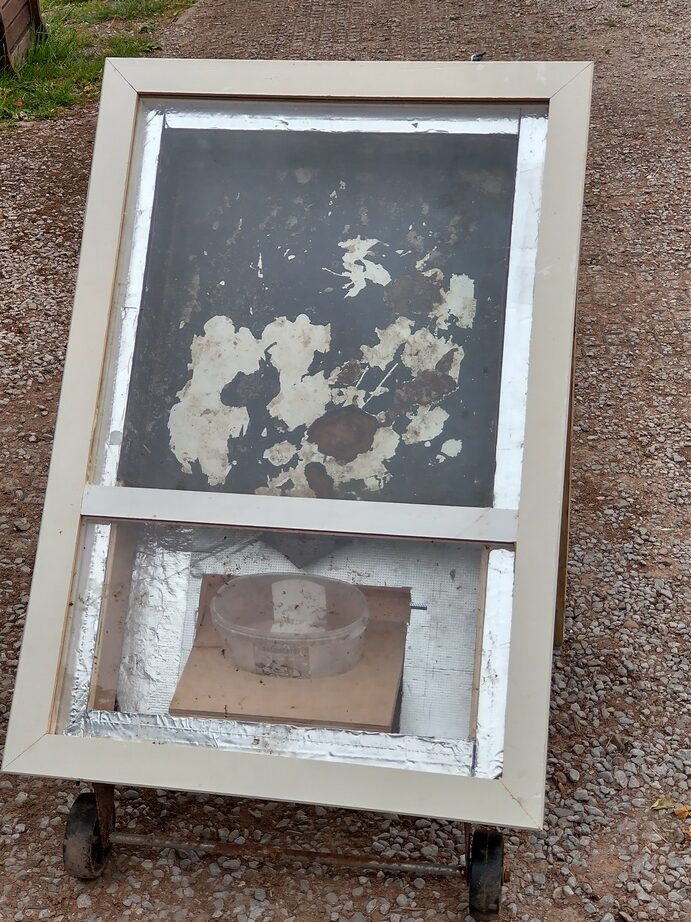
Just completed my latest project a solar wax melter ,the door is a new double glazed unit where the the surveyor got the measurements wrong. And told my friend he could keep it, so he kindly gave to me .The angle of the solar wax melter is 35°to the horizontal to the ground ,the cabinet is mounted on a lazy Susan bearing allowing 360 ° rotation ,but not really needed for the position it's in at present .The wax when melted will pass through a varroa mesh to collect larger debris and strained through some J cloths ,All I need now is wax to melt and some long awaited sunshine .
John

My word, gas struts as well !
Looking very clean. . .for now.
Nice work.
:LOL:
 
I've been building a solar wax extractor, to take advantage of the heat of the Sun to melt down some of my old stuff. Not sure I'm going to get to use it this year though :D I have the main box built now, just need to add some supports and the glazing to finish it.

I'm not sure what I'm going to do with all the reclaimed wax I have at the moment. I've posted before that swapping it for foundation or kit doesn't seem like that good a deal these days. I was thinking about making my own foundation and using it for starter strips, but actually I wonder if just a flat strip of wax without an embossed pattern would do the job. I reckon it might. Flat sheets would be much easier and faster to produce than embossed.

James

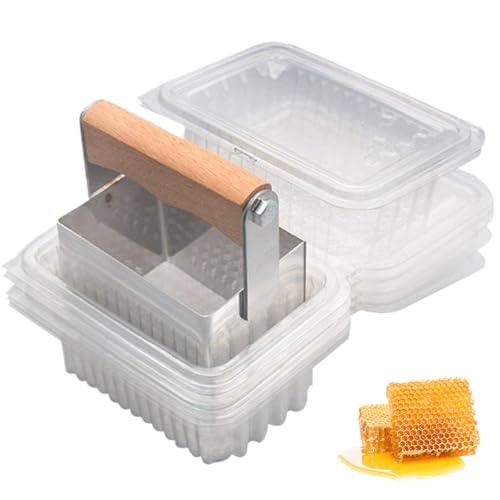
Get a silicone mould/mold, around £20 Ebay or Temu. I was sceptical..but works well, it's quick, the foundation can be a bit thick, the bees love it. Cut into strips, or use trimmed to your frame size.
 
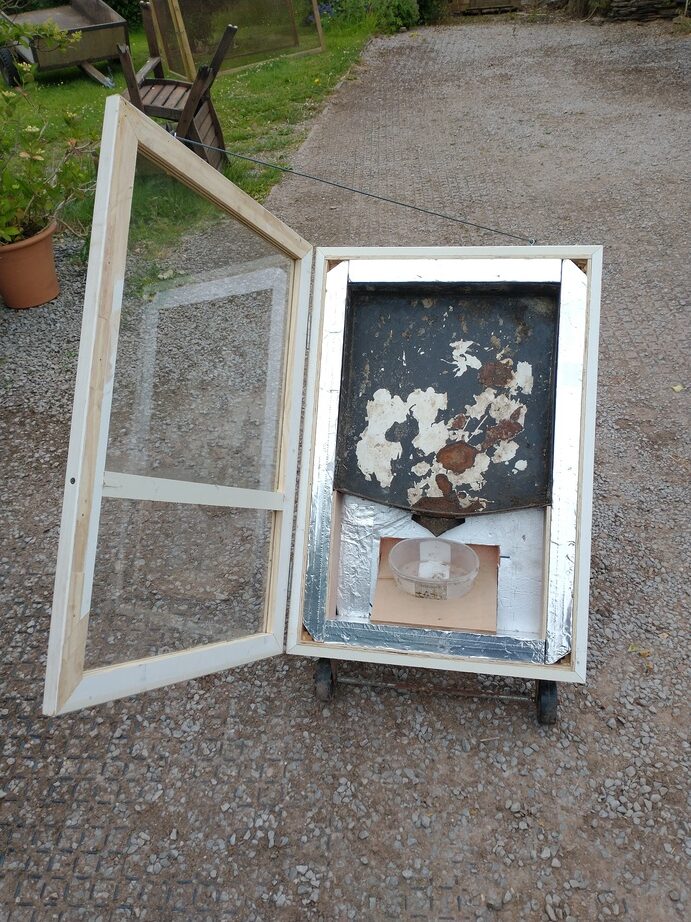
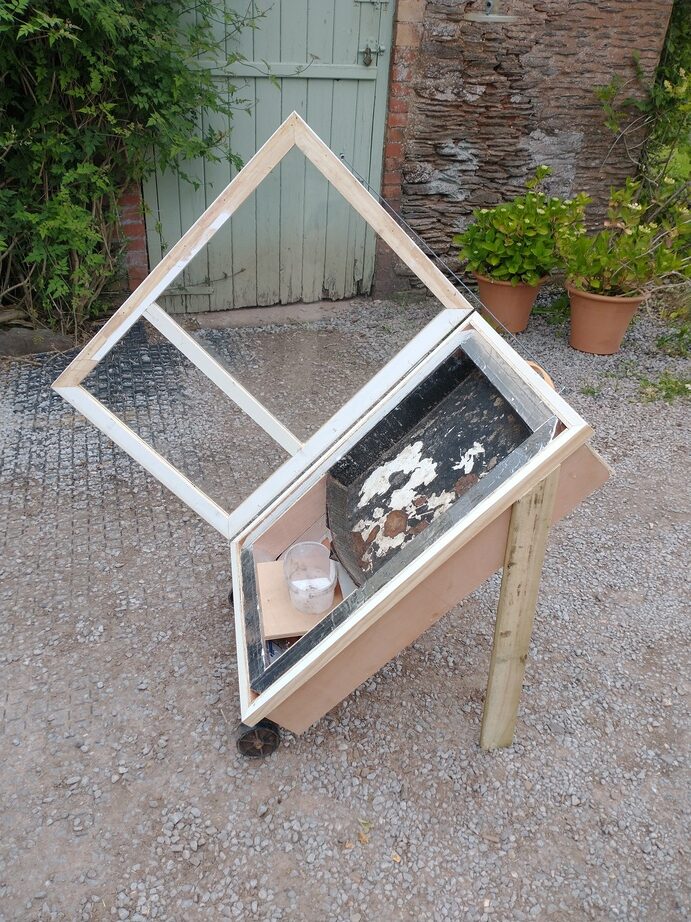
Having appropriated some scrap timber from work, today I have almost finished my mk2 solar wax melter. Still need to respray the tray, find some catches and seal around the glass, but I think that's it. Having a chain for a door stay rather than a scrap of washing line might be good, too.

Most of it is made from scrap or bits that have been hanging around the workshop for years. Even the wheels came off an abandoned power tool stand I think.

solar-wax-melter-mk2-01-rotated.jpg

solar-wax-melter-mk2-02-rotated.jpg


solar-wax-melter-mk2-03-rotated.jpg


James
 
I’ve been a lurker for the last year, absorbing all the valuable insights and really enjoying the discussions here. I started with two hives at the end of July last year, and this year I’ve been aiming to expand to six hives. However, the weather in the North of Scotland has been quite challenging.

I've been learning to graft and my first attempt resulted in just one successful graft using JzBz cups. Unfortunately, I did the grafting in near darkness, which didn’t help. Although the queen hatched, she disappeared shortly after. Probably my fault due to the way I was running a demaree.

This time, I switched to using wax cups—some molded by myself and some from silicon molds you can find on eBay/Amazon. I also made some adjustments: I used a powerful head torch, glasses (finally admitting my age), and turned the frame around to see into the cells better. This resulted in over ten successful grafts! I'm still waiting for them to hatch.

However, I glued the queen cups to the bars with dripped wax. In future, to make management easier, I 3D-printed something similar to the Nicot holders. These holders have a flat bed with a lip to hold dripped wax used to glue on the wax cups. This also allows roller cages to be used. I am hoping it will make it easier to remove and manage the queen cells when distributing them.

Maybe I'm creating something that isn't really required but I'll let you know how it gets on when I've finished trying them out. I want to make an incubator similar to David's (The Apiarist) and the extra flexibility with the cells is required.

IMG_5018.jpegIMG_5020.jpegIMG_5021.jpeg
 
I loaded up my wax melter (photos a couple of posts back) on Sunday and on Monday the weather was heavily overcast so there was nothing much happening. Today was much warmer and sunnier however and despite partly cloudy skies in the morning and the melter facing south, even by 10am the wax inside was starting to melt. Once it started dripping into the collection tray I discovered a minor issue with some wax leaking out of the melting tray spout and dripping outside the tray, but I have attempted a temporary modification with several layers of kitchen foil. Once we have a foil food tray to recycle I'll use that to fashion something more permanent.

The wax collected looks pretty clean -- I have some varroa mesh in the tray as an initial filter for the big stuff and then a paper towel after that. Definitely better than my first solar melter, or my steam-powered one in fact (and cheaper to run than the latter).

James
 
Having appropriated some scrap timber from work, today I have almost finished my mk2 solar wax melter. Still need to respray the tray, find some catches and seal around the glass, but I think that's it. Having a chain for a door stay rather than a scrap of washing line might be good, too.

Most of it is made from scrap or bits that have been hanging around the workshop for years. Even the wheels came off an abandoned power tool stand I think.

solar-wax-melter-mk2-01-rotated.jpg

solar-wax-melter-mk2-02-rotated.jpg


solar-wax-melter-mk2-03-rotated.jpg


James
Looks good. I lke these catches for beehive stuff.

https://www.ebay.co.uk/itm/144614587935?itmmeta=01J1FWR22YBGG4GMCE7NHEC4DJ&hash=item21abb37e1f:g:YdAAAOSwlTZcdQcZ&itmprp=enc:AQAJAAAAwO/gNmQD97sK4dJSHDtlo/c888OfsNhBp3oqv/b30VHOxVBbQFzeSUfRvvHSPgCGH2IF2R38u0FubCQTKtByVOJyDhbmIS1TM5iFA/6dX8FGG1/tmwI/0zDiEe2rxdPcMQyX2WE9PqILCM81rQPft8W+TfEkJVtRYVkURRGo+cYTi/ioDz5f/Rljge8FzFSrTbE3r5rGj2yu5kd5Aef8BfiVjfW77RzPNLIWNk3NHsz8SGtVIkKnOJ+YDNTdBSM1Gg==|tkp:Bk9SR-yh4PyLZA
 
0789B85B-66AD-4A77-95EE-8FFCFD2B96CE.jpegMade a start on a honey warming cabinet this evening using free foam insulation picked up the other side of the village, the area within the box is 55cm2 X100cm tall. All being well it should take 3x 30lb buckets or 3 brood/6 super boxes. I’ve got a thermostat, usb fans and a tube heater due shortly
 
Stan made one for me but we cheated buying a heating unit from Thorne
Do post more pictures when you are finished
 
Back
Top